Are you looking to design your new dream home? Well, at Custom Timber Log Homes, we have over 40 years of experience in the construction business, from building modern homes, frame homes, log cabin homes, and even supply log cabin kits.
We are a locally family-owned business, so when you choose us, you become part of our family. We don't just build houses. We build homes. We walk you through all the processes from start to finish, making it as hassle-free as possible.
We also work with multiple building suppliers, such as Andersen Windows and Therma-tru doors. We manufacture precision-grade logs on-site to provide you with the best material at an affordable cost.
First and foremost, we are custom home builders in East Tennessee and the surrounding areas. We are Frame home builders, Log home builders, and we also supply log cabin kits to the US and Canada. Custom Timber began its journey in the industry by crafting log cabin kits for other companies. However, we quickly realized that these kits/packages often failed to deliver on their promise of completeness, leaving customers with additional costs and frustration. We were determined to change this, and that's when the idea of Custom Timber was born. We wanted to provide a solution that would meet and exceed customer expectations. Our commitment to quality, transparency, and customer satisfaction has helped us establish a strong presence in the market and become a trusted name in the industry.


We are, first and foremost, log home builders in East Tennessee and the surrounding areas. Also, we supply log cabin kits to the US and Canada. Custom Timber started in the industry by building log cabin kits for other companies. We found that these kits / packages would never be what they claimed to be. They wouldn’t include everything you need to build the entire home. This left our customers eating the rest of the cost after paying for a “complete” package. That didn’t sit right with us. So we did something about it!
You will not find just another cookie-cutter log home company with Custom Timber. Our goal is to help you build the home you have always wanted, not just one we want to sell you. So if you are looking for a log home that is truly you, you have come to the right place.
Let us help you eliminate the hassle by working behind the scenes to make everything streamlined and clear cut. If you are looking for a log home, a log cabin kit, or even a turn-key build, we can tailor our services to fit your needs and ideas.
We care about each and every one of our homeowners, and our end product reflects precisely that. Clients love our work, and we promise you will too. With the best customer support in the business and top-quality craftsmen at every stage.

The Miller’s Lodge log home is a great home for a stylish family. The kitchen flows directly into the great room and dining area, making this a perfect home for entertaining, or for spending a fun evening with your family. The large kitchen boasts a nice pantry and a raised bar. The private master suite […]

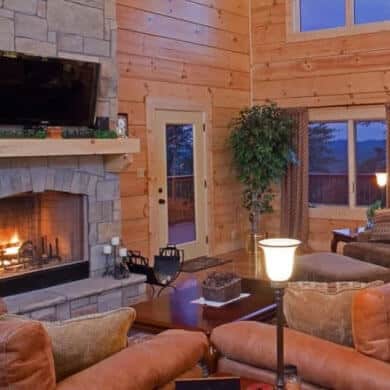
The Pleasant Valley Log Home is a home true to its name. Step into the great room, where you are greeted with a beautiful, stoned fireplace and exposed heavy timber beams. The large kitchen looks out into the great room, keeping family and friends comfortably close. With the convenience of dual vanities in the master […]

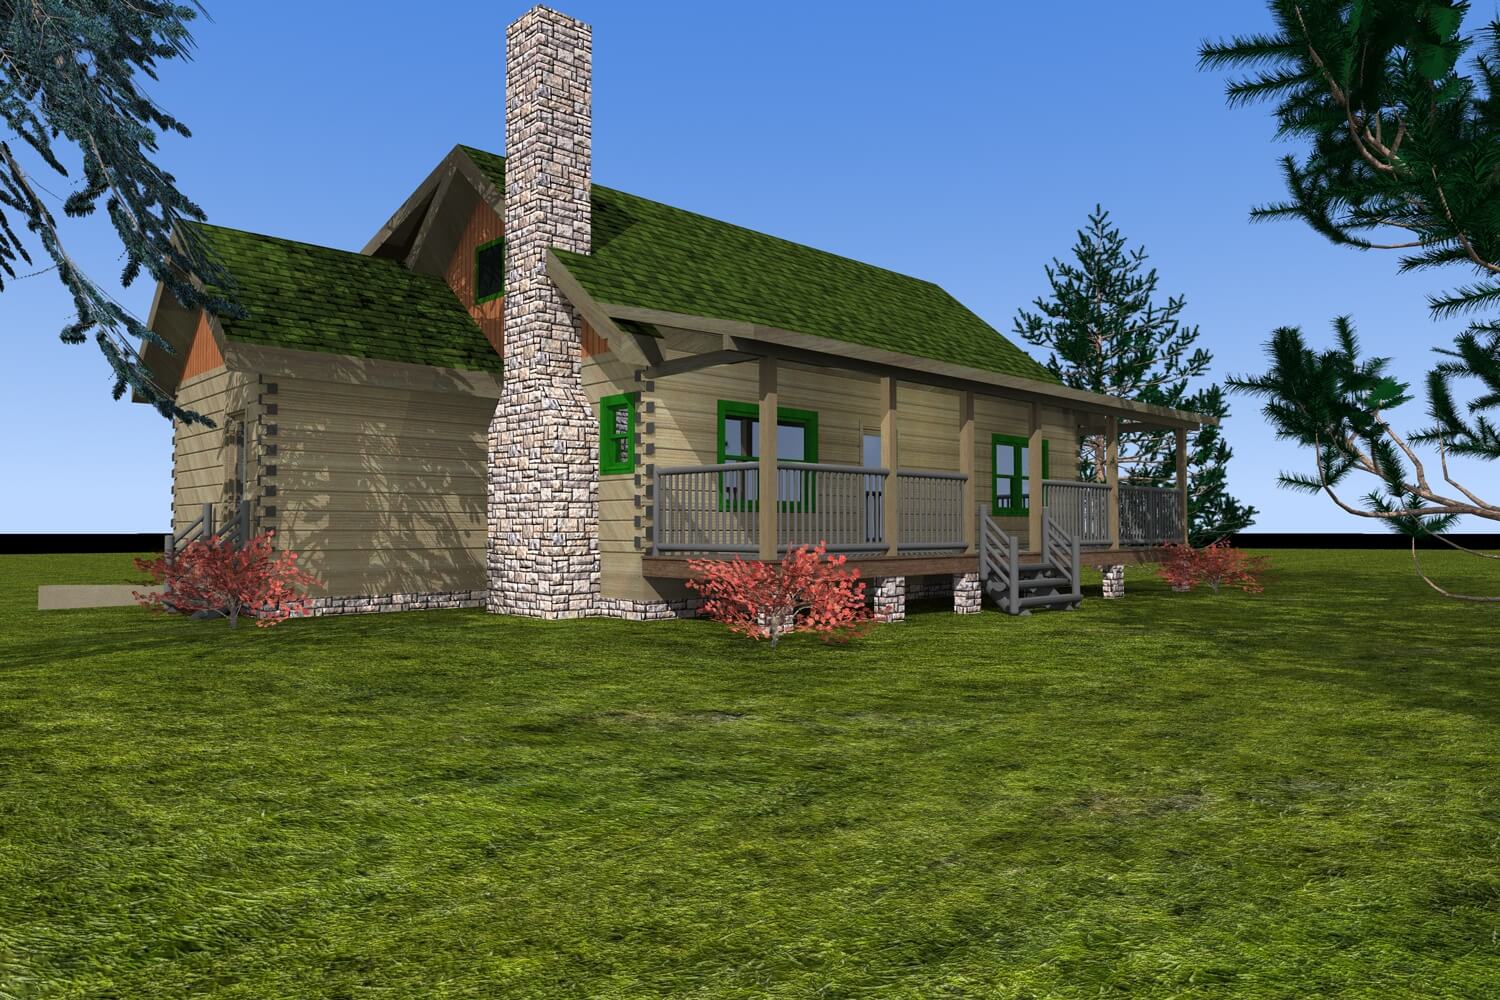
The Deer Ridge Log Home has a more traditional look on the outside, with all of the standards for a modern world. The home features a great room with loft overlook, two bedrooms with one master suite on the main level with its own private bath and walk-in closet. This log home has a punch […]


We work with top manufacturers of quality components like Pella Windows, and Thermatron doors. It is also possible to make changes to accommodate your needs and desires. Throughout the process, we will help you decide what to use should you have any questions. Again, we try to make the design and build as simple for you as possible.