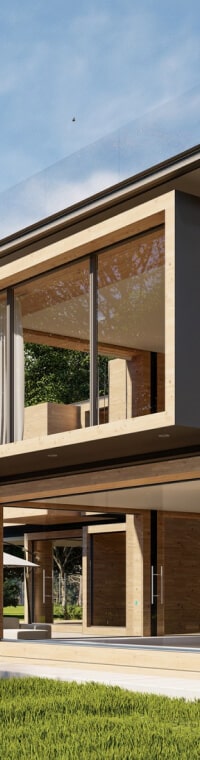

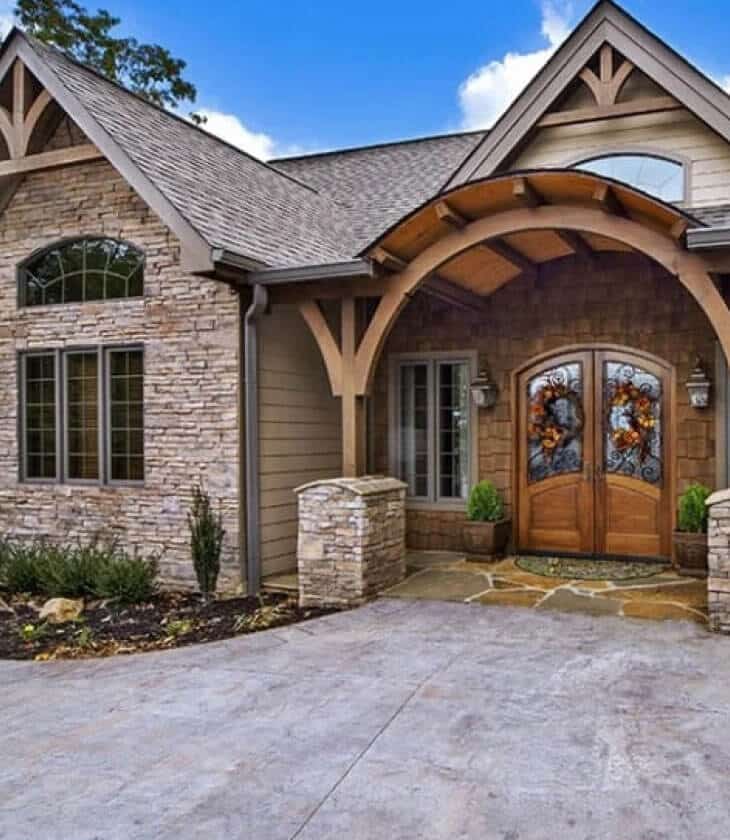
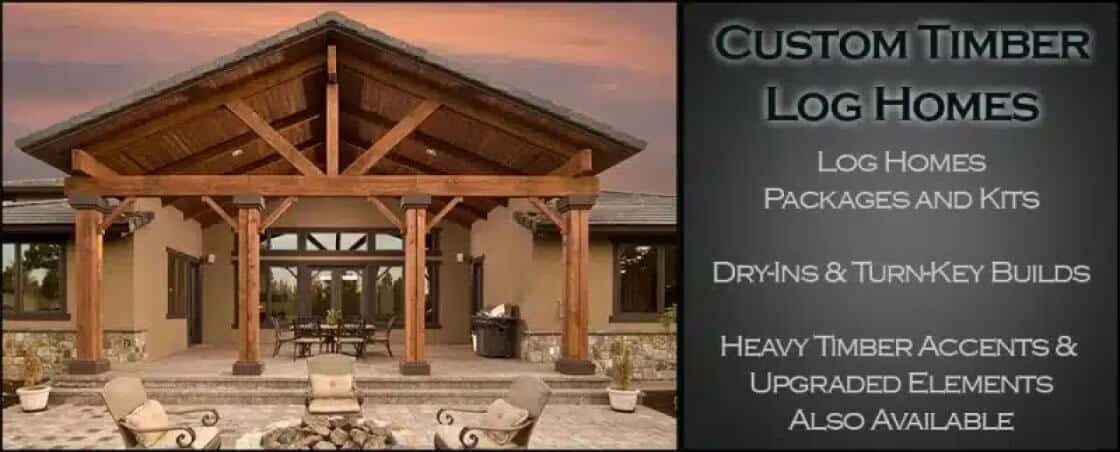
Are you looking to design your new dream home? Well, at Custom Timber Log Homes, we have over 40 years of experience in the construction business, from building modern homes, frame homes, log cabin homes, and even supply log cabin kits.
We are a locally family-owned business, so when you choose us, you become part of our family. We don't just build houses. We build homes. We walk you through all the processes from start to finish, making it as hassle-free as possible.
We also work with multiple building suppliers, such as Andersen Windows and Therma-tru doors. We manufacture precision-grade logs on-site to provide you with the best material at an affordable cost.
First and foremost, we are custom home builders in East Tennessee and the surrounding areas. We are Frame home builders, Log home builders, and we also supply log cabin kits to the US and Canada. Custom Timber began its journey in the industry by crafting log cabin kits for other companies. However, we quickly realized that these kits/packages often failed to deliver on their promise of completeness, leaving customers with additional costs and frustration. We were determined to change this, and that's when the idea of Custom Timber was born. We wanted to provide a solution that would meet and exceed customer expectations. Our commitment to quality, transparency, and customer satisfaction has helped us establish a strong presence in the market and become a trusted name in the industry.
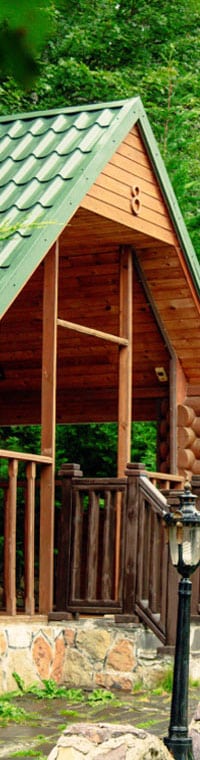
We are, first and foremost, log home builders in East Tennessee and the surrounding areas. Also, we supply log cabin kits to the US and Canada. Custom Timber started in the industry by building log cabin kits for other companies. We found that these kits / packages would never be what they claimed to be. They wouldn’t include everything you need to build the entire home. This left our customers eating the rest of the cost after paying for a “complete” package. That didn’t sit right with us. So we did something about it!
You will not find just another cookie-cutter log home company with Custom Timber. Our goal is to help you build the home you have always wanted, not just one we want to sell you. So if you are looking for a log home that is truly you, you have come to the right place.
Let us help you eliminate the hassle by working behind the scenes to make everything streamlined and clear cut. If you are looking for a log home, a log cabin kit, or even a turn-key build, we can tailor our services to fit your needs and ideas.
We care about each and every one of our homeowners, and our end product reflects precisely that. Clients love our work, and we promise you will too. With the best customer support in the business and top-quality craftsmen at every stage.

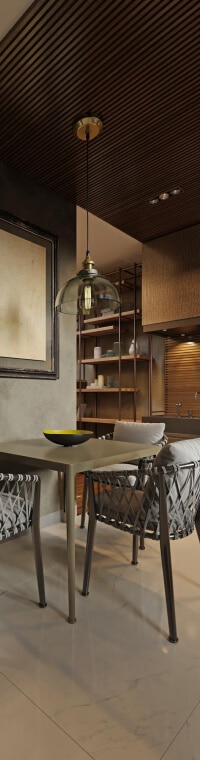
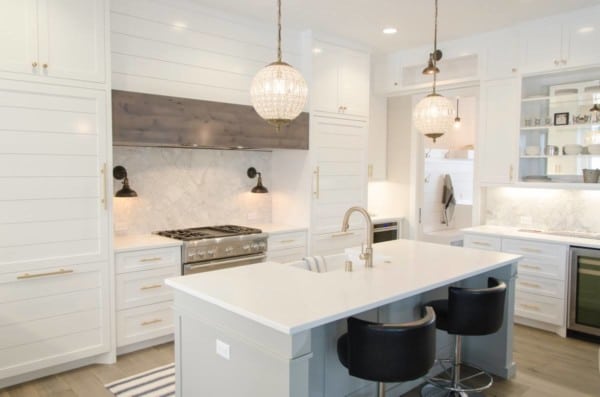
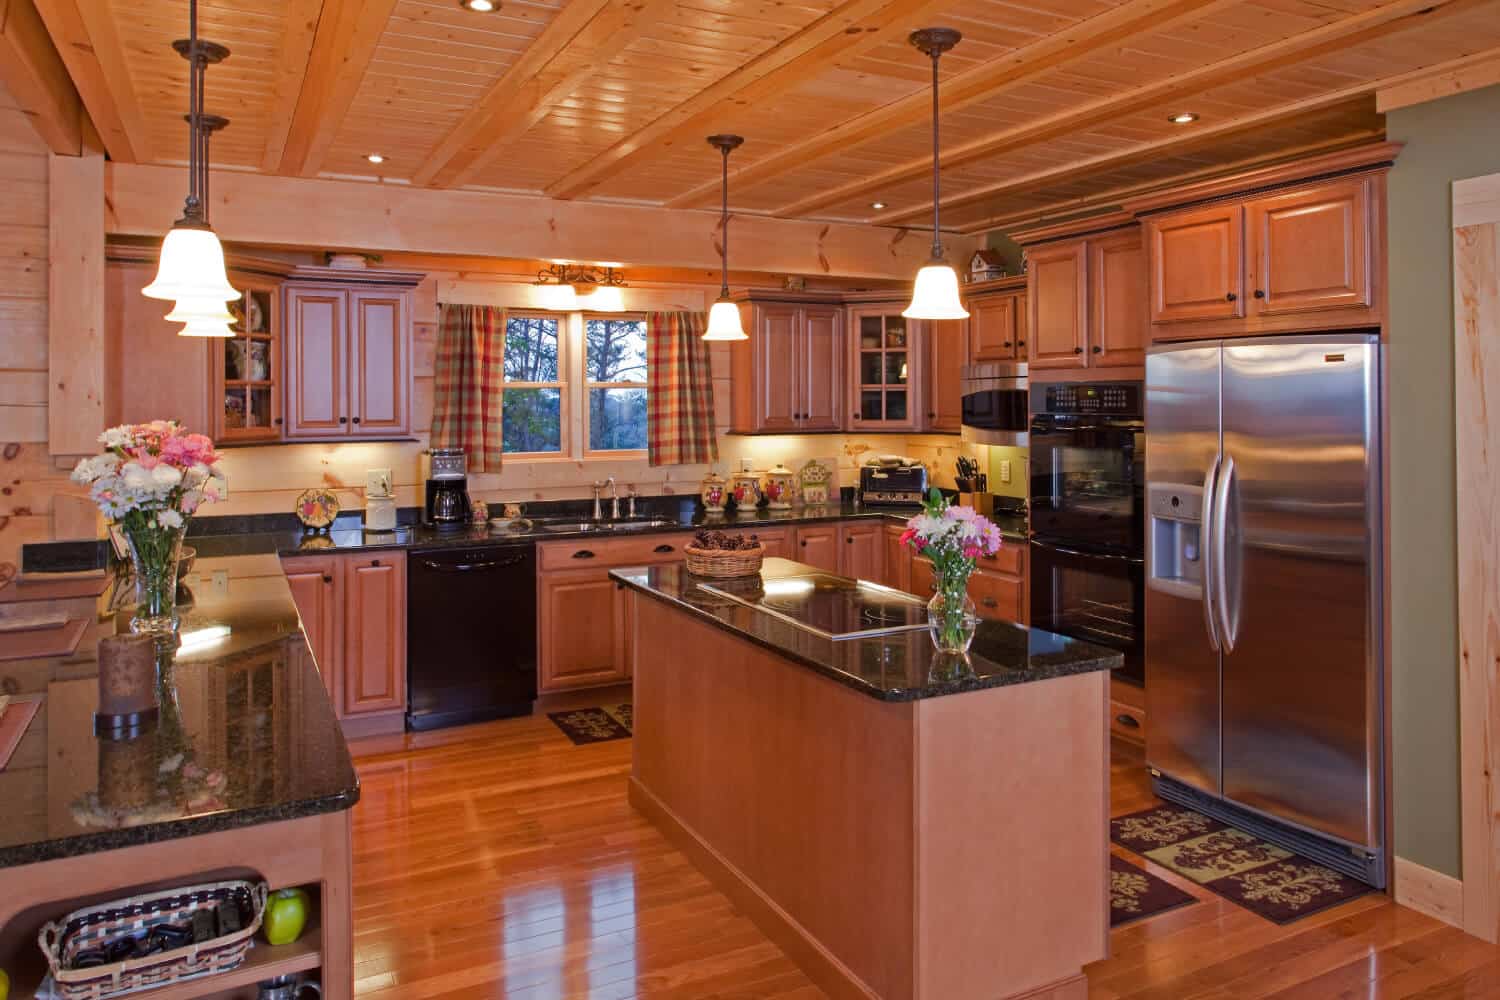
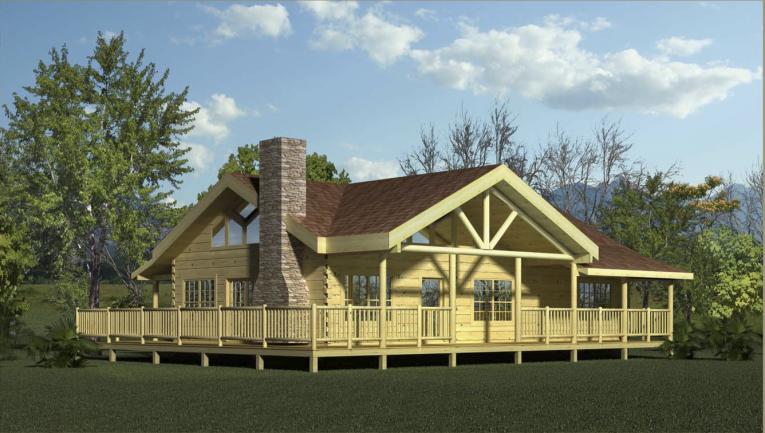
The Miller’s Lodge log home is a great home for a stylish family. The kitchen flows directly into the great room and dining area, making this a perfect home for entertaining, or for spending a fun evening with your family. The large kitchen boasts a nice pantry and a raised bar. The private master suite […]
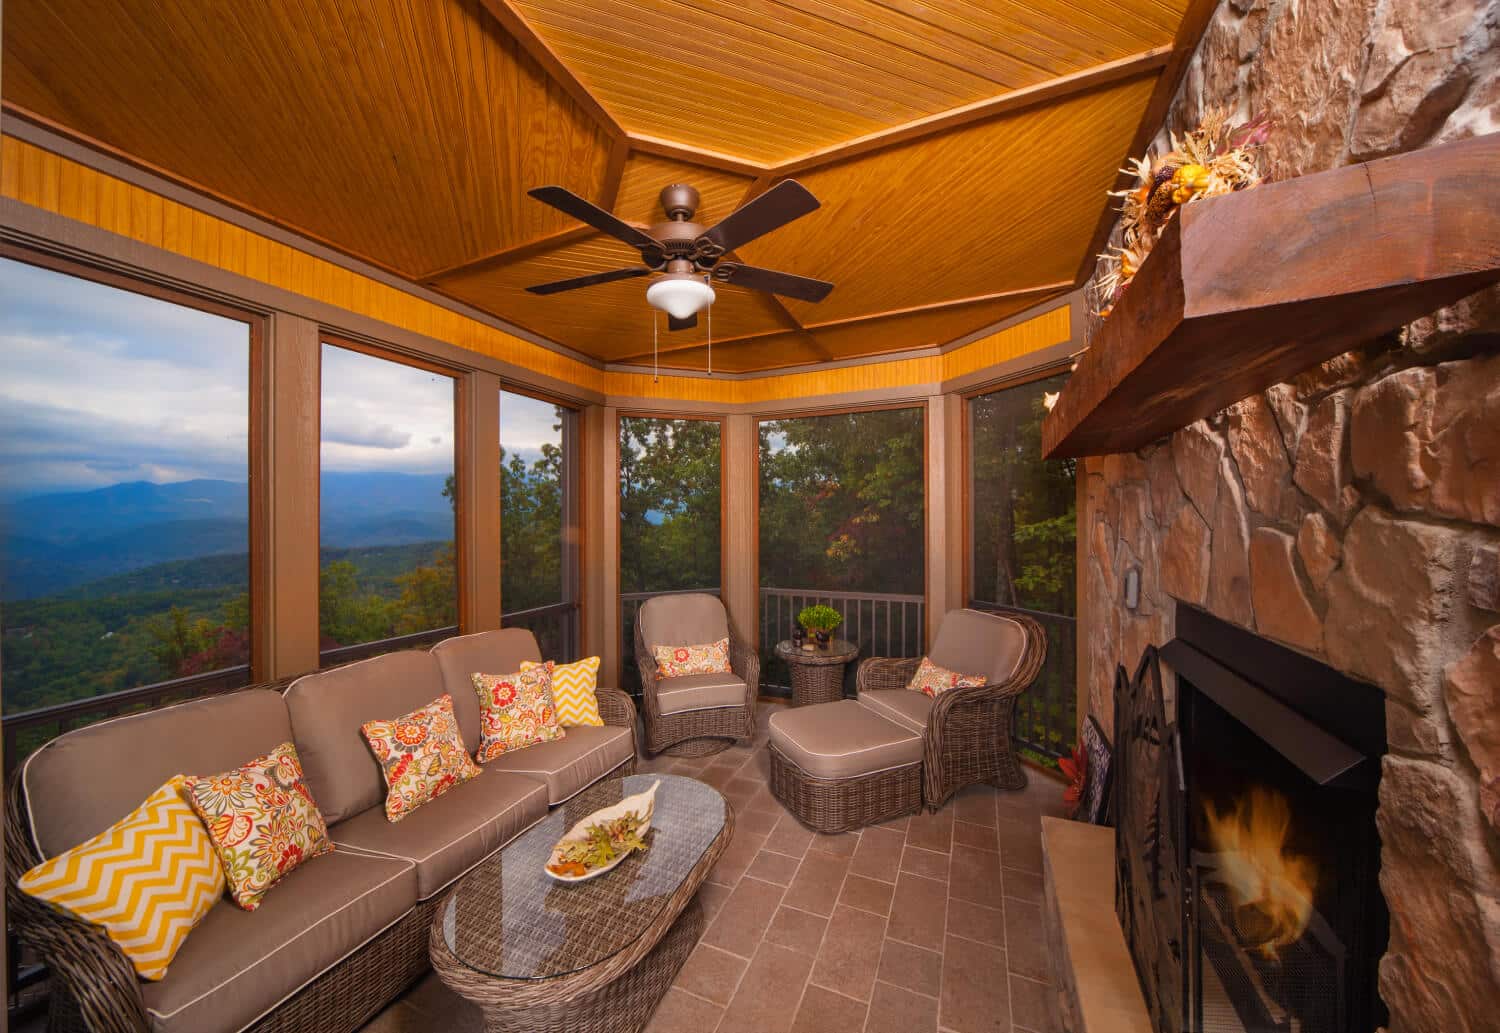
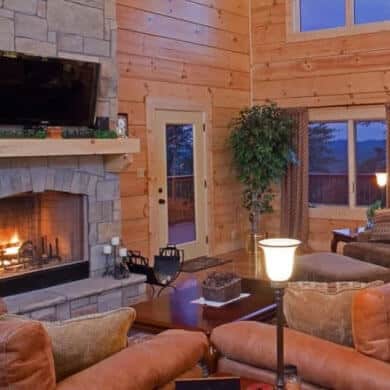
The Pleasant Valley Log Home is a home true to its name. Step into the great room, where you are greeted with a beautiful, stoned fireplace and exposed heavy timber beams. The large kitchen looks out into the great room, keeping family and friends comfortably close. With the convenience of dual vanities in the master […]
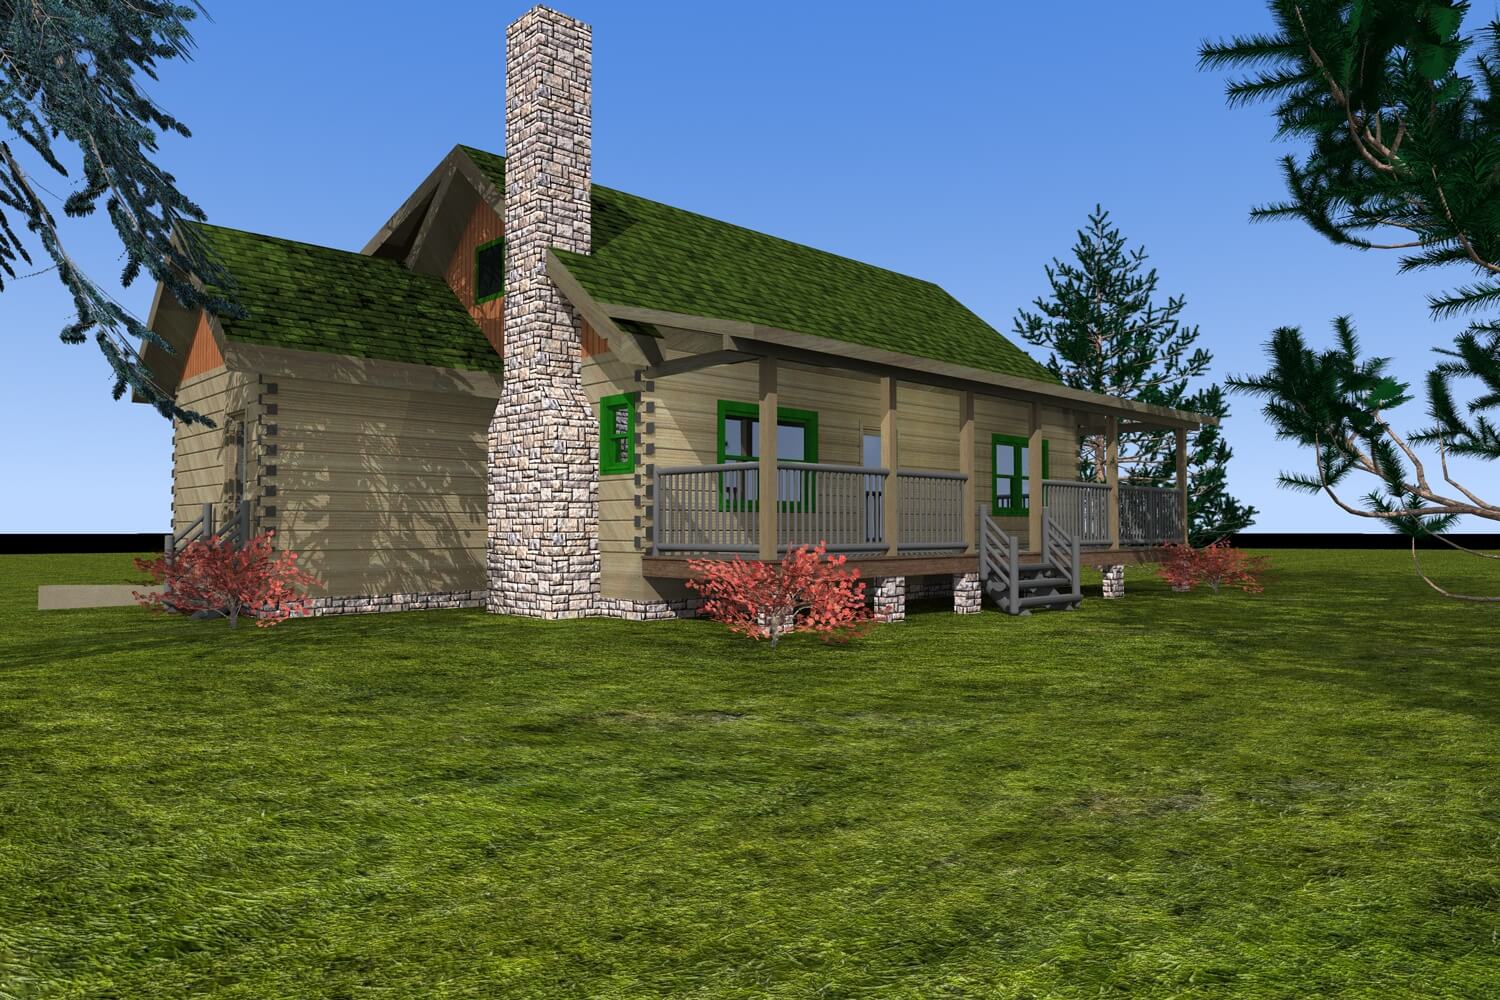
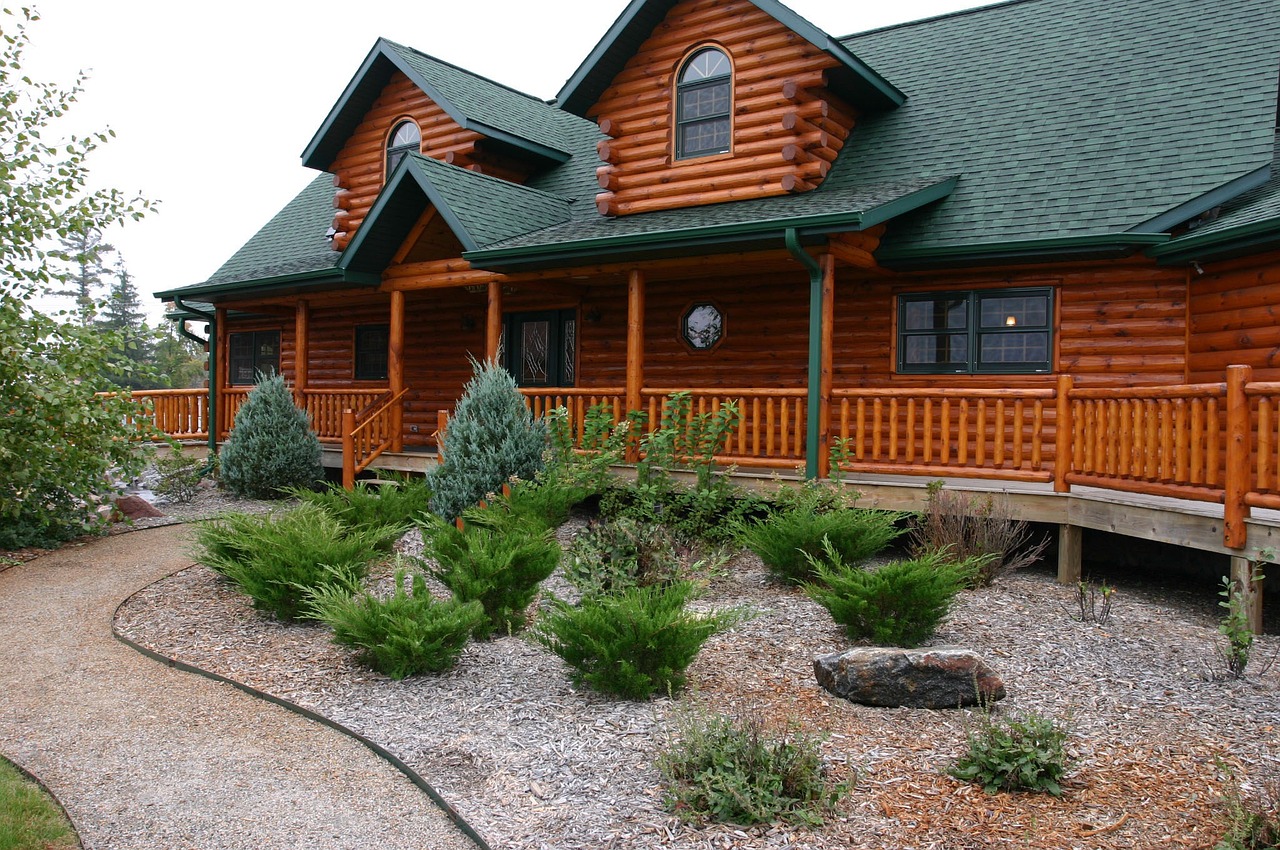
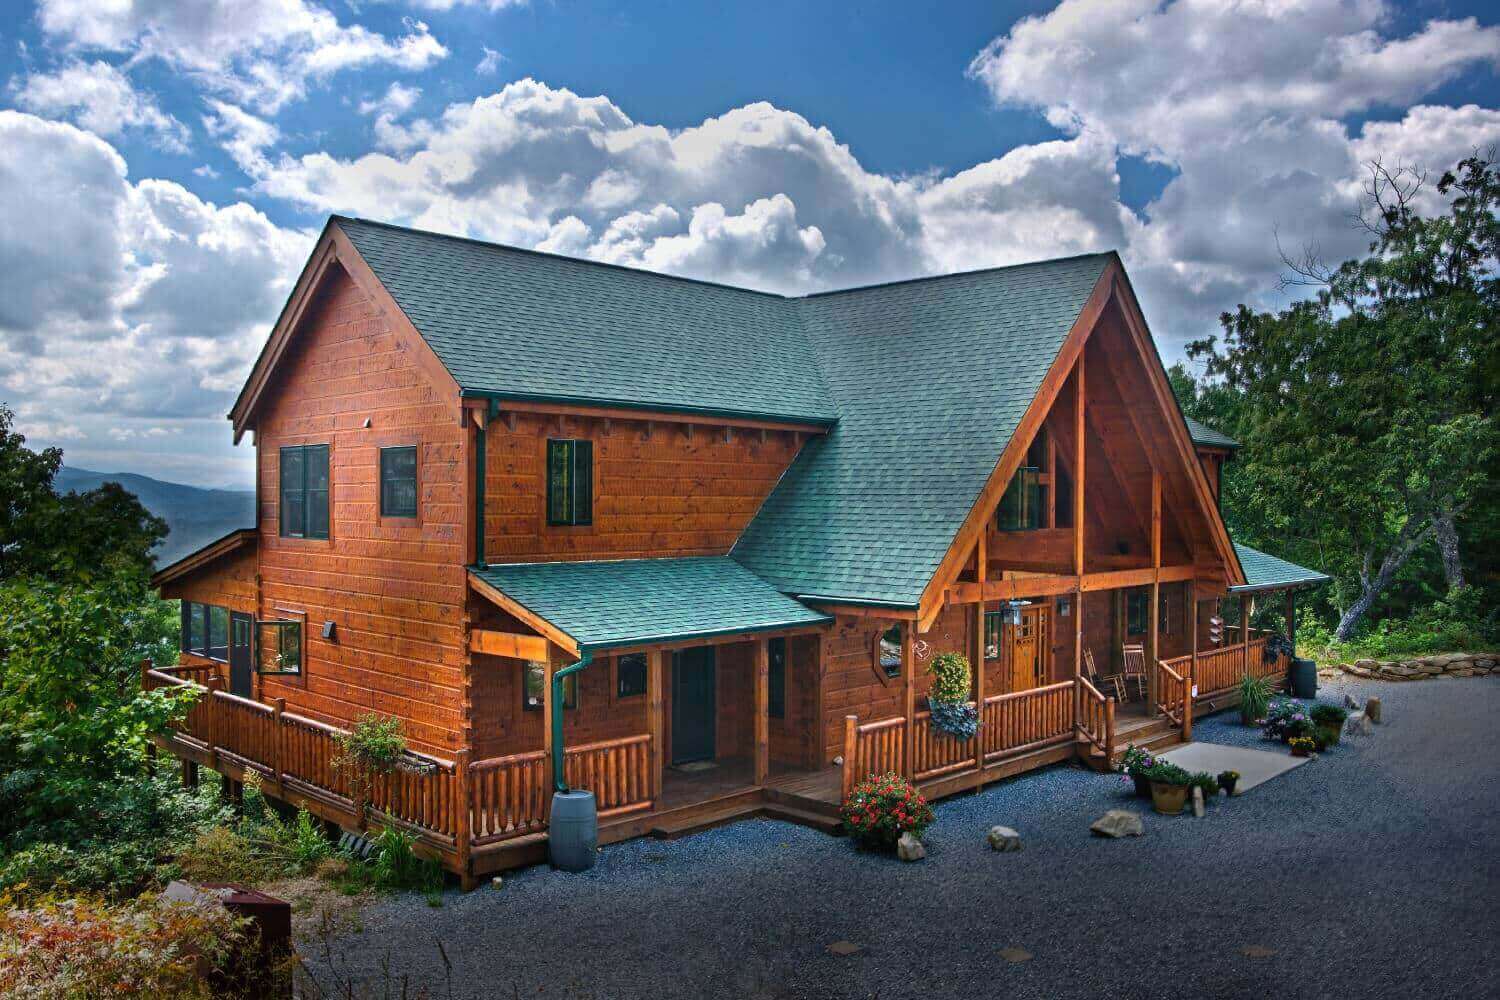
The Deer Ridge Log Home has a more traditional look on the outside, with all of the standards for a modern world. The home features a great room with loft overlook, two bedrooms with one master suite on the main level with its own private bath and walk-in closet. This log home has a punch […]


We work with top manufacturers of quality components like Pella Windows, and Thermatron doors. It is also possible to make changes to accommodate your needs and desires. Throughout the process, we will help you decide what to use should you have any questions. Again, we try to make the design and build as simple for you as possible.
Bo Sparks and Custom Timber Log Homes were recommended to me by an extended family member who had previously worked with Bo in the construction of his own log home. As the manager of an engineering co ... Read More
Bo Sparks and Custom Timber Log Homes were recommended to me by an extended family member who had previously worked with Bo in the construction of his own log home. As the manager of an engineering company who deals with all manner of service providers, I have to admit I had some doubts as to how this would turn out. How it turned out, however, was this: excellent customer service and communications, a quoted price that was correct, and exemplary workmanship from all the building trades, all resulting in a log home that is admired by family and friends alike. And in the year following construction completion, when a few inevitable “bugs” appeared, construction manager Rich Mays was on site quickly, cheerfully, and without question to remedy the given situation. I don’t do this very often, but in this case I want to wholeheartedly and without reservation endorse and recommend Bo, Chris, Rich, and the whole Custom Timber Log Home team. They are professionals in the truest sense. Read Less
When my wife and I decided to build in Walland, Tennessee we chose Bo Sparks. We knew we had selected the right builder because of what we heard from people we spoke with. They would simply say, ‘Yo ... Read More
When my wife and I decided to build in Walland, Tennessee we chose Bo Sparks. We knew we had selected the right builder because of what we heard from people we spoke with. They would simply say, ‘You’ve got a good builder there.’ We built during a downturn in the economy but Bo Sparks was still building when others had gone by the way side. Bo and Custom Timber Log Homes is where quality and integrity come together. We know quite a bit about construction and the way things should be done, so we could tell just by speaking with Bo that our house was going to be built the right way. He was there from start to completion of our residence. If quality, trust, dependability and accountability is what you’re looking for, then choose Bo Sparks and Custom Timber Log Homes for the builder of your biggest investment. Read Less
Christy and I both felt really comfortable with anything we needed to say, and any suggestions you came up with. It was really easy to work with you, and that makes this experience very pleasant.
Christy and I both felt really comfortable with anything we needed to say, and any suggestions you came up with. It was really easy to work with you, and that makes this experience very pleasant. Read Less
Bo and Chris were great to work with! We were always able to get in touch with them quickly with questions and concerns, and we knew they were always up front and honest with us. We love our new house ... Read More
Bo and Chris were great to work with! We were always able to get in touch with them quickly with questions and concerns, and we knew they were always up front and honest with us. We love our new house! Thanks, guys! Read Less

I couldn’t ask for a better experience. Bo was always in touch throughout every step of the process. I felt very comfortable with everything. The entire process was simple, and I would gladly recomm ... Read More
I couldn’t ask for a better experience. Bo was always in touch throughout every step of the process. I felt very comfortable with everything. The entire process was simple, and I would gladly recommend Bo to anyone looking to build. Read Less
We are so pleased with our new log home! They did a great job with everything, and we couldn’t be happier with our new home. Throughout the job, Bo was just a phone call away. I can’t remember a s ... Read More
We are so pleased with our new log home! They did a great job with everything, and we couldn’t be happier with our new home. Throughout the job, Bo was just a phone call away. I can’t remember a single time where he didn’t answer his phone when we had a question, and that has made SUCH a difference. Bo and his team has made the entire process of building a home almost effortless. Read Less
Thank you for a wonderful experience of being a part of building my beautiful cabin. — It came out just what I imagined and more. — So glad we met and had you (Bo) and Rich build my home. Again, I ... Read More
Thank you for a wonderful experience of being a part of building my beautiful cabin. — It came out just what I imagined and more. — So glad we met and had you (Bo) and Rich build my home. Again, I want to thank all of you for making me feel welcome here and building me a beautiful home. Read Less

We built our home long distance from South Florida with little knowledge of building in general, and log homes in particular. Bo Sparks and his team built our home with zero problems, hassles, or misu ... Read More
We built our home long distance from South Florida with little knowledge of building in general, and log homes in particular. Bo Sparks and his team built our home with zero problems, hassles, or misunderstandings. Even to this day, several years later, he is totally responsive to any questions or concerns we may have. We would recommend Bo with total confidence to any client. Read Less
Bo rescued us from a horrible situation with a previous builder […] He has been great to deal with, and very understanding throughout the entire process. We couldn’t be happier!
Bo rescued us from a horrible situation with a previous builder […] He has been great to deal with, and very understanding throughout the entire process. We couldn’t be happier! Read Less
Bo and Chris Sparks built our custom frame home on a steep lot in the foothills of the Smokies a couple of years before they started Custom Timber Log Homes. We were looking for a reasonably priced co ... Read More
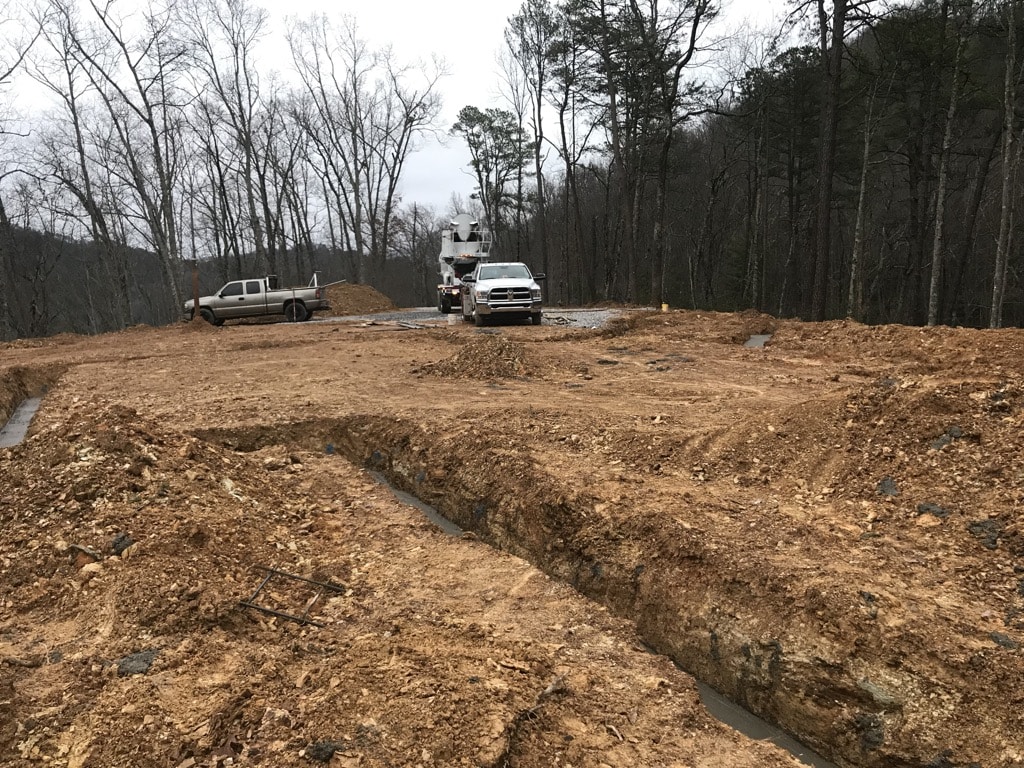
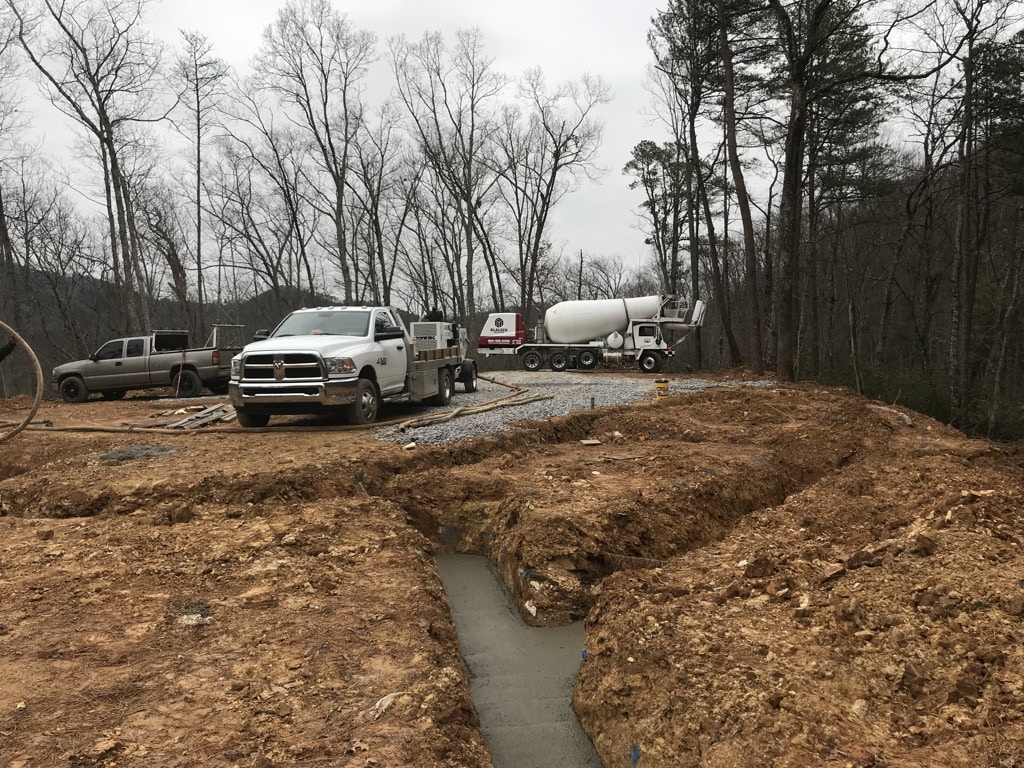
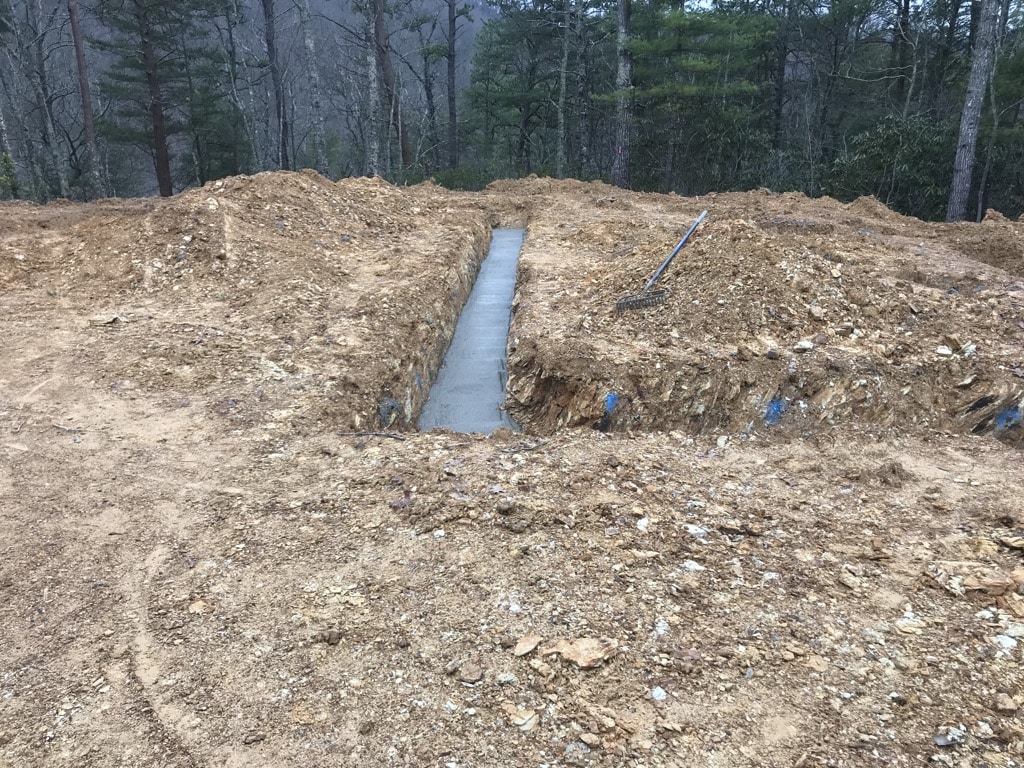
Bo and Chris Sparks built our custom frame home on a steep lot in the foothills of the Smokies a couple of years before they started Custom Timber Log Homes. We were looking for a reasonably priced contractor with a reputation for building structurally sound houses, and we found that and much more with Bo and Chris. We gave them a picture of a mountain home and floor plan we’d found in a magazine and a long list of ideas for design changes. Chris produced a blueprint that incorporated all of our ideas, and Bo turned the blueprint into the house we’d envisioned. We were extremely impressed by the craftsmanship that went into the construction from the solid concrete foundation on up but even more impressed by the Sparks’ continual efforts to make every feature of the house exactly like we wanted it. Service after the sale has been excellent; after two years we still call Bo for advice and sometimes hands-on help with home projects, and he’s been just as responsive and helpful as he was during the construction process. We’re fortunate to have found a custom home builder who is so easy to work with and who has such high integrity, knowledge, and skill. Read Less
Our thanks to Bo Sparks and his crew for taking a lot of stress out of building our log home. From the beginning of the design, the actual building (which included major changes requested by us in our ... Read More
Our thanks to Bo Sparks and his crew for taking a lot of stress out of building our log home. From the beginning of the design, the actual building (which included major changes requested by us in our master bathroom as walls were going up), to the follow-up after built, we were pleased with the outstanding craftsmanship and services provided. Bo’s clear and quick communication with integrity was demonstrated throughout the entire process. We would highly recommend Bo Sparks to anyone looking to build their home. Read Less
When we decided to build our home, we entered into a partnership of mutual respect and understanding with Bo and the staff. They did not disappoint and were with us every step along the way; from the ... Read More
When we decided to build our home, we entered into a partnership of mutual respect and understanding with Bo and the staff. They did not disappoint and were with us every step along the way; from the time the plans were drawn up, to the land being cleared, to the final walk-through. Our phone calls and emails were answered immediately or responded to very quickly, and this was especially important to us since we were 500 miles away. Their attention to detail, dedication to the customer and continuous customer service sets them apart. Read Less
My wife Marla and I purchased a lot in Kinzel Springs in October 0f 2002. We are originally from New York and have resided in Fort Lauderdale for the past 37 years. We had no clue about building a log ... Read More
My wife Marla and I purchased a lot in Kinzel Springs in October 0f 2002. We are originally from New York and have resided in Fort Lauderdale for the past 37 years. We had no clue about building a log home in Tennessee, and would be building “from a distance” with access to our homebuilding once every 2 or 3 months at best. Clearly a potential recipe for disaster. Luckily for us we chose Bo Sparks as our custom builder for our log home. The building process could not have gone smoother. Great communication, No cost overruns, never a problem and great advice as to materials, modification ideas and advice. Everything was explained to us and it was as if we were building with a long term trusted friend.. Other people in Kinzel Springs DID run into disaster when they chose the wrong builder. We can only give Bo and his company our highest recommendation for an honest and worry free building experience. Read Less

Each and every experience I’ve had with Custom Timber Log Homes has been excellent. As a Realtor, it is comforting knowing I can confidently recommend a builder to construct an excellent home for my ... Read More
Each and every experience I’ve had with Custom Timber Log Homes has been excellent. As a Realtor, it is comforting knowing I can confidently recommend a builder to construct an excellent home for my customers. All of my clients have been very pleased with Custom Timber Log Homes throughout the entire construction process. Chris has been very helpful with the design work to incorporate all of their ideas and features into a home. The cutting-edge technology used to view their home before it is constructed is very beneficial. Bo, is a great person to get along with and always works well with the home owners. His expansive construction experience comes in very handy with the custom built homes. It is a great testament to the quality and reliability of work that he has been using many of the same sub-contractors for, in some case, decades. Bo is frequently on the job site ensuring everything is done correctly. The skill of the craftsmen used by Custom Timber Log Homes is second to none. Nearly all of the people I have encountered on the job site have been professional and highly skilled. One of the additional things Custom Timber Log Homes does that my clients and I love is their detailed pictures throughout the construction process. This is especially helpful to people who are from out of the area building their second/vacation home or retirement home. They can view the progress of the home as it comes along and ask any questions they may have. With Custom Timber Log Homes, I feel very confident they can deliver an exceptional product at a reasonable price and make the home owner happy! I give them my absolute highest recommendation for someone building a custom home in East Tennessee! Read Less
We designed our own floor-plan and they took our diagram and developed a beautiful home with exposed timbers, beams and lumber. Bo was very conscientious and communication during the planning and buil ... Read More
We designed our own floor-plan and they took our diagram and developed a beautiful home with exposed timbers, beams and lumber. Bo was very conscientious and communication during the planning and building process was very good. He went above and beyond to get our project down as we wanted it. Bo continues to be a good resource for information and assistance. Read Less
Thank you all so much for everything that you have done for us to help our dream home become a reality! What an amazing journey it has been for us, and just being able to get to know each of you has b ... Read More
Thank you all so much for everything that you have done for us to help our dream home become a reality! What an amazing journey it has been for us, and just being able to get to know each of you has been very rewarding. Not only can we say that you are professionals, but you are a friend as well! Thanks for all the advice, the understanding and for just always being available for our questions and concerns! We would begin the process all over again with you all and not think twice about it!! … All in all, it has been a wonderful process! We have learned so much and know that we could not have done this without you! Please know that each of you are welcome in our home anytime! We open our home to special friends like you! We wish you many more years of success and know that each of your customers will be as pleased as we have been! God bless each of you richly and we hope to talk to you soon! — Love to all- Read Less
We are extremely pleased with our small cabin designed and built by Custom Timber Log Homes. The entire family were absolutely wonderful to work with. Bo kept us informed throughout the whole proc ... Read More
We are extremely pleased with our small cabin designed and built by Custom Timber Log Homes. The entire family were absolutely wonderful to work with. Bo kept us informed throughout the whole process and went above and beyond the call of duty to help us even on weekends. He also worked hard to hold the cost down and made our dream come true on a limited budget. We would highly recommend him and his crew who were all honest, hard-working, and extremely knowledgeable in all areas necessary to get the job done! We have had several people write in our guest registry in amazement of the top-notch quality construction of the cabin. Read Less

I couldn’t ask for a better experience. Bo was always in touch throughout every step of the process. I felt very comfortable with everything. The entire process was simple, and I would gladly recomm ... Read More
I couldn’t ask for a better experience. Bo was always in touch throughout every step of the process. I felt very comfortable with everything. The entire process was simple, and I would gladly recommend Bo to anyone looking to build. Read Less